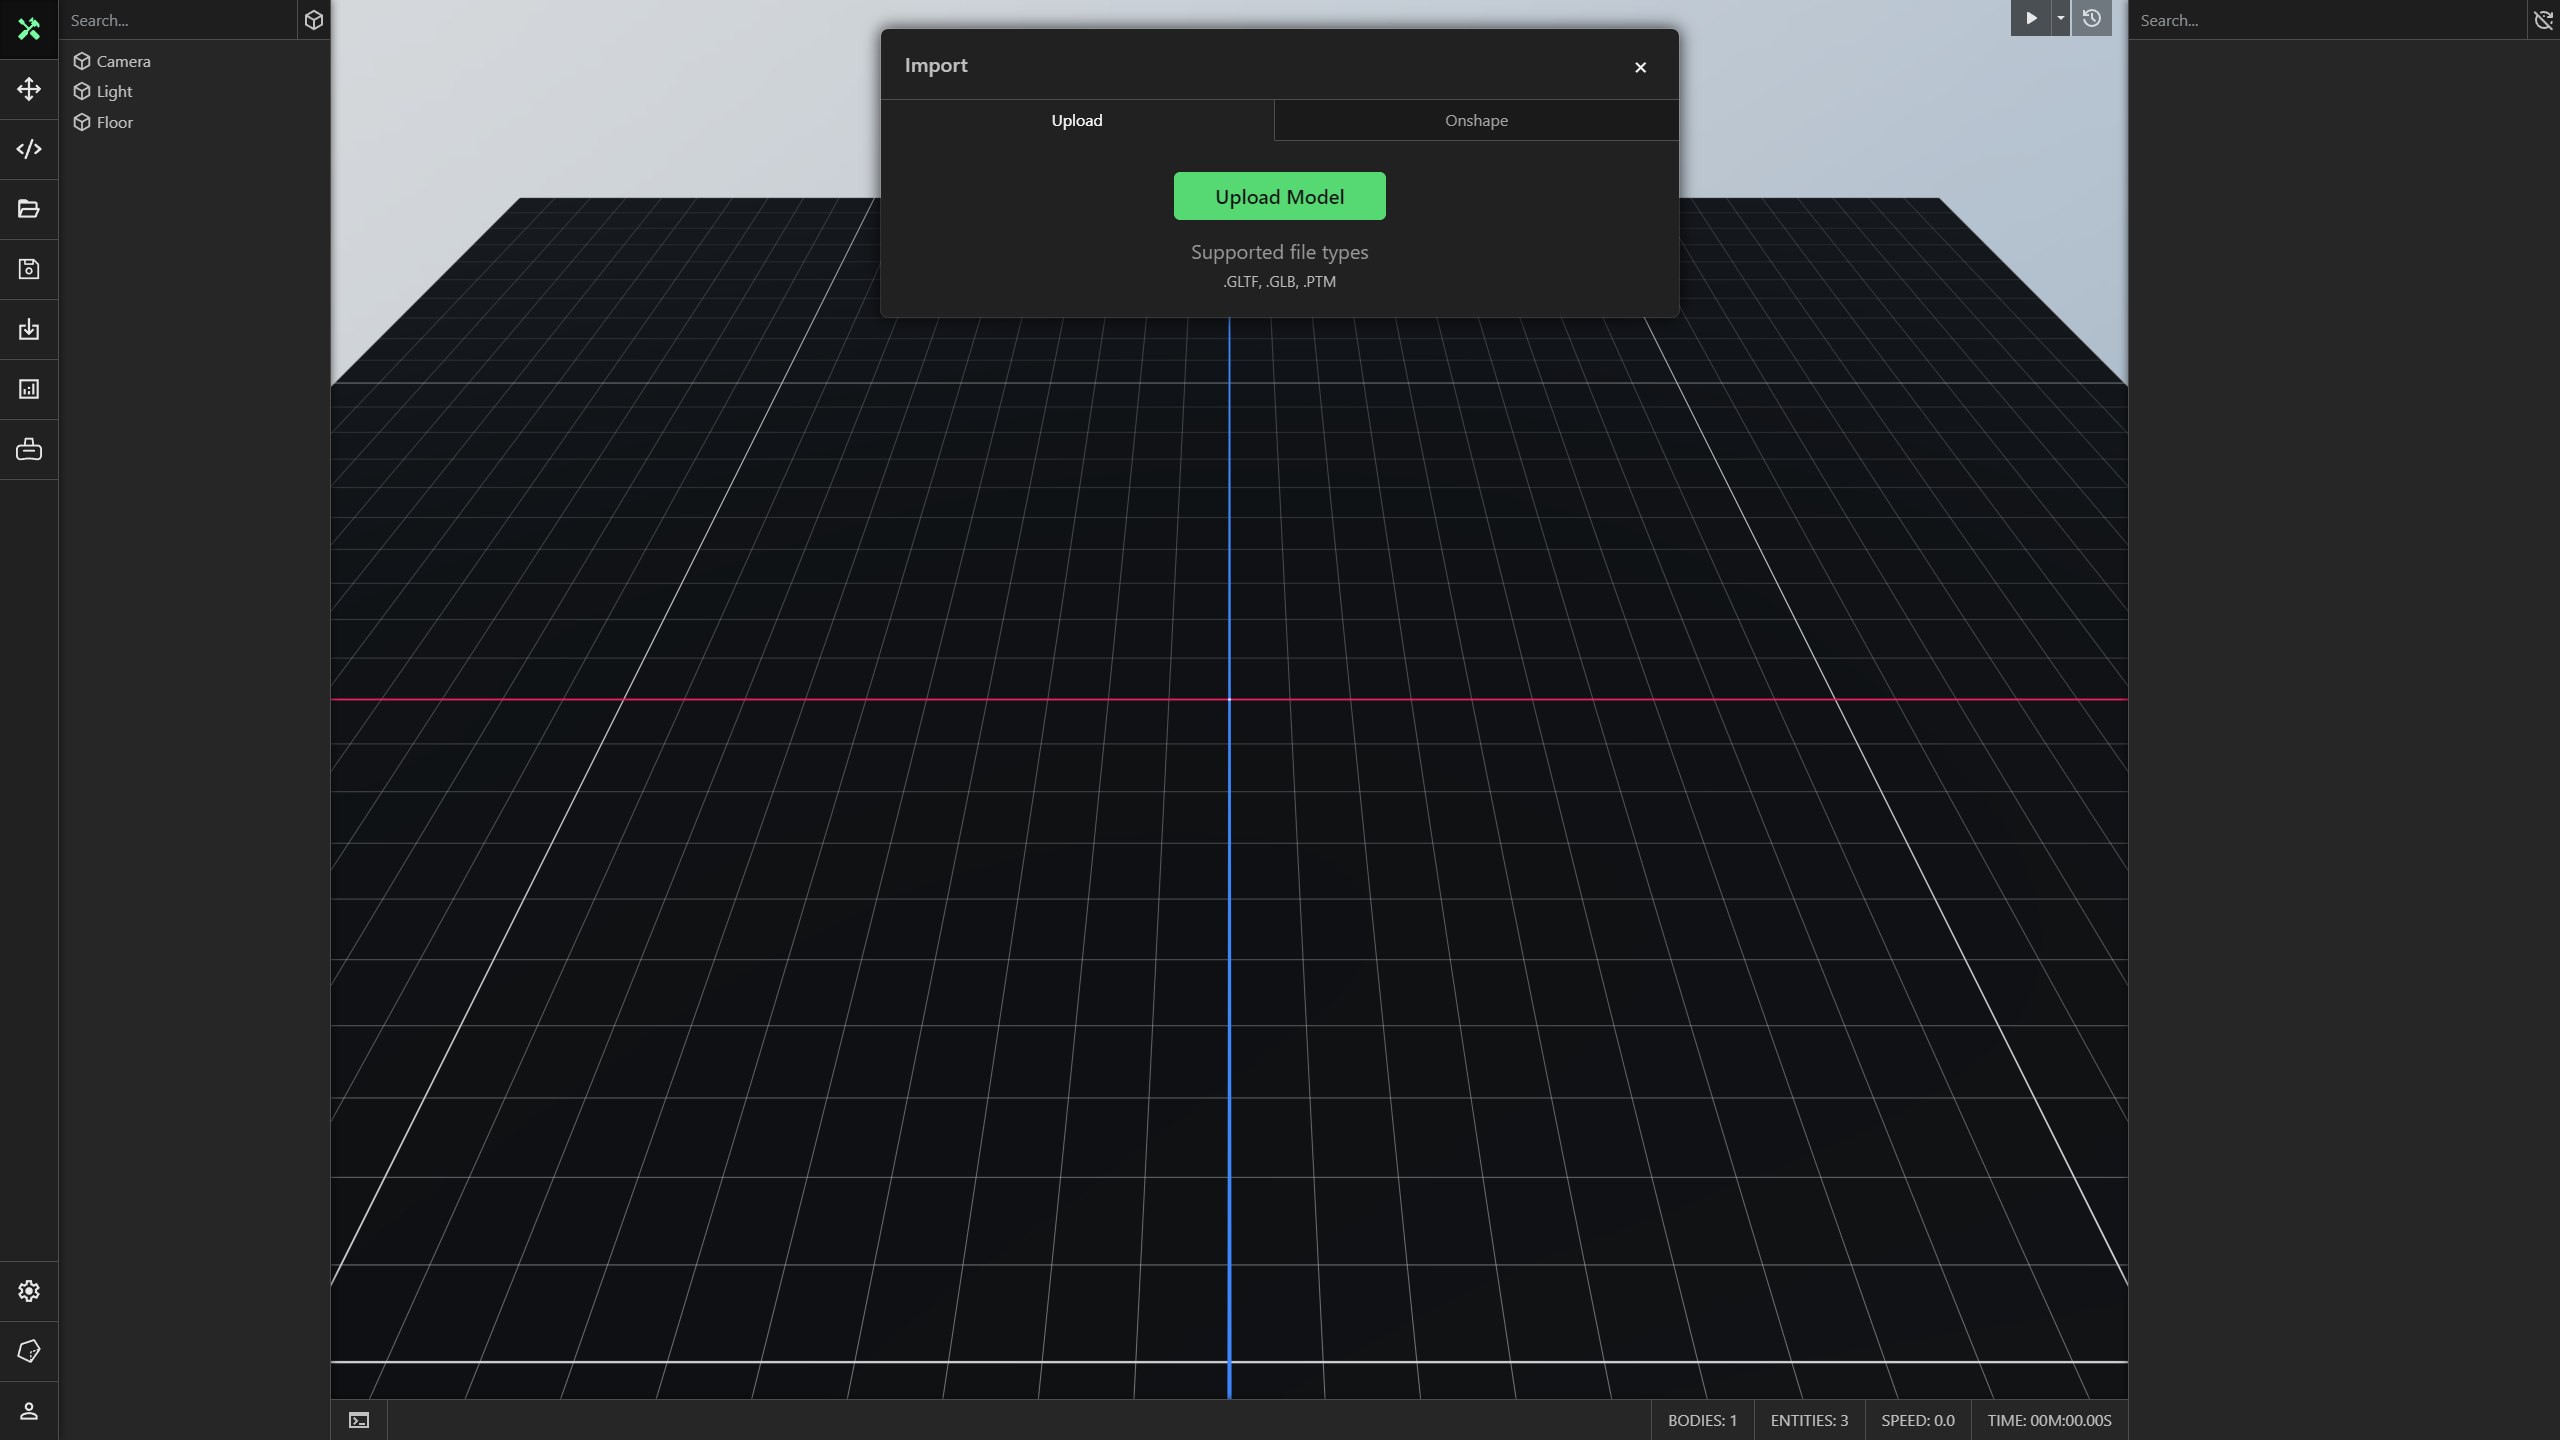
Importing
ProtoTwin supports importing CAD and 3D assets into the application. You can import CAD directly from Onshape. Alternatively, geometry can be exported from the CAD software you are using to the GLTF file format and imported into the application. You may also import other ProtoTwin models into your current model.
Supported Files
GLTF
The GLTF format has become the industry standard specification for the exchange/transmission of 3D geometry. ProtoTwin has native support for GLTF 2.0. We recommend using the GLB-variant, which encapsulates all the data into a single file using a more efficient binary format. Note that ProtoTwin does not currently support GLTF animations, mesh morphing or Draco compression.
PTM
You can import other ProtoTwin models (.ptm files) into your current model. The light, floor and camera are not imported by default. The import could fail if your scripts contain conflicts. Please ensure that all your scripts and exported types have unique names.
Unsupported Files
ProtoTwin does not currently support importing STL, 3MF, OBJ, STEP/STP, SLDPRT/SLDASM, IGES/IGS, DAE, USD, etc. You have a few options when managing CAD files with these types:
- Export the CAD file to GLTF/GLB if your CAD software supports exporting to this format.
- Use an online tool to convert the file to GLTF/GLB if your CAD software does not support exporting to this format. Please note that some minor issues with feature selection may arise if your CAD file has gone through various stages of convertion.
- Import your file parts into an existing CAD software like Onshape, create a document where your parts are positioned correctly, then export your Onshape CAD document to a GLTF file.
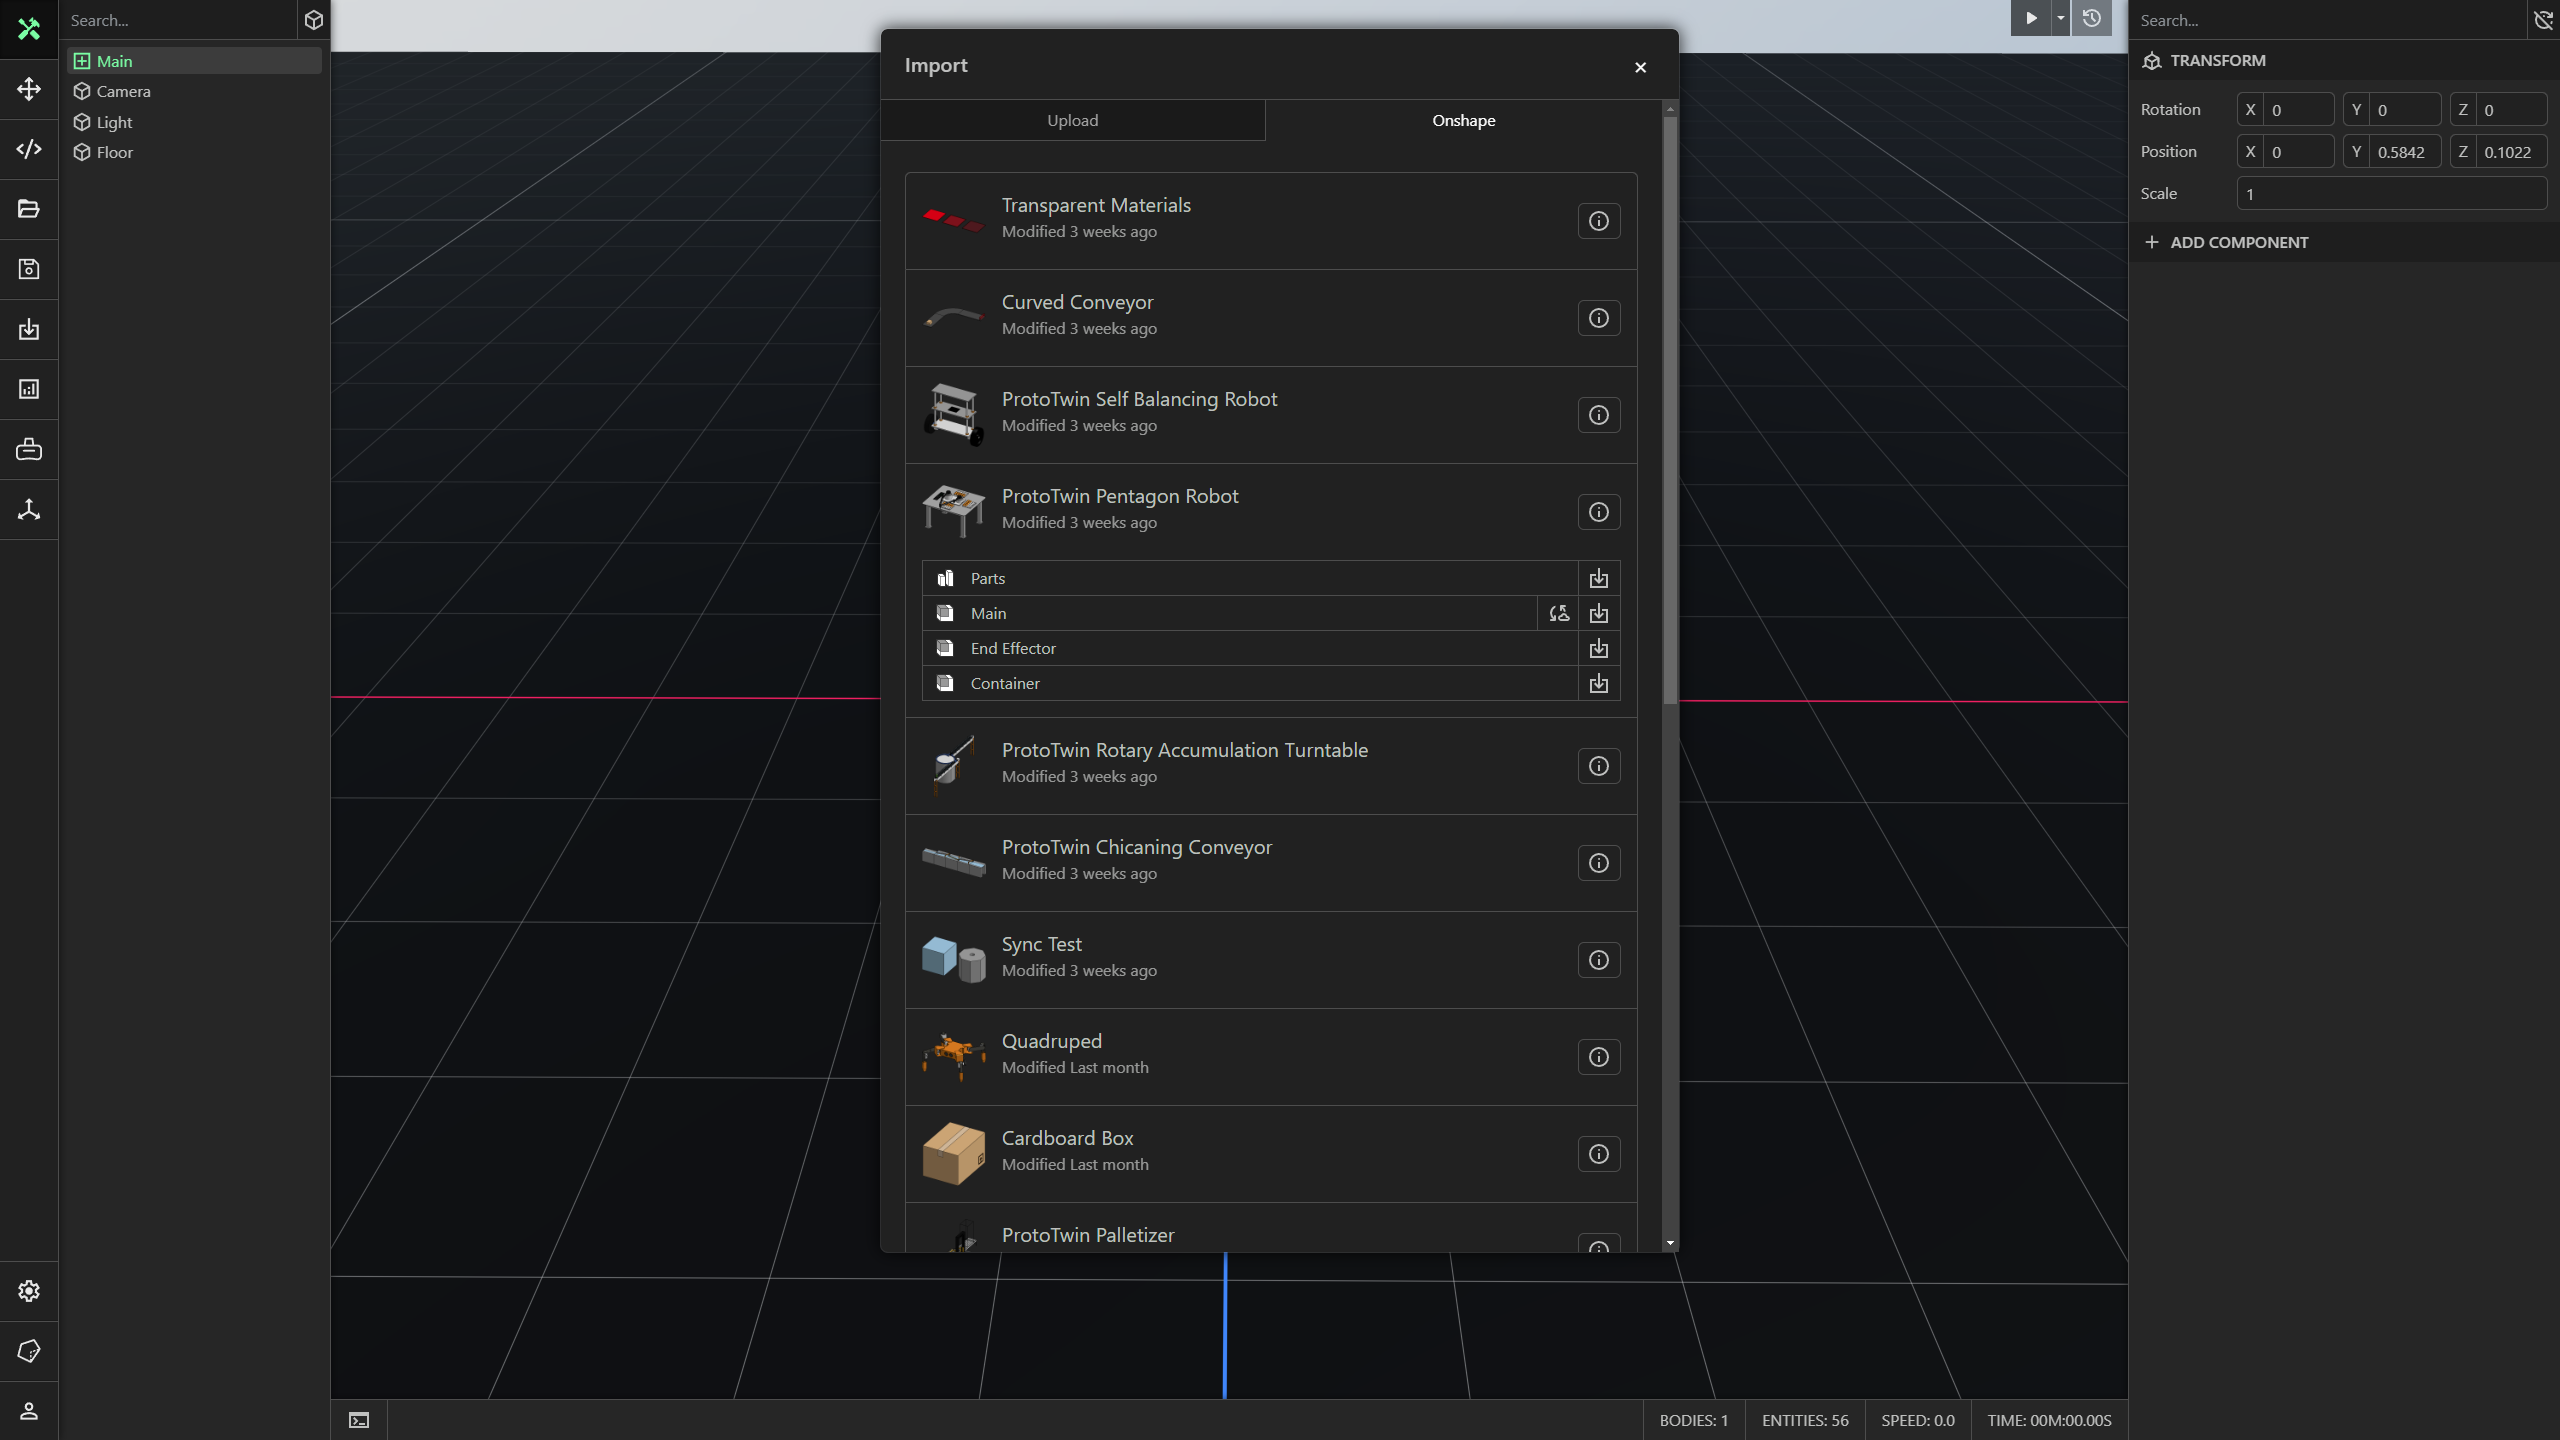
Onshape
You can import CAD directly from Onshape. Switch to the Onshape tab, then select any part studio or assembly from any of your Onshape documents to import. The info button can be used to open your document in Onshape. You can search for a document by:
- The name of the document.
- Pasting a link to the document. This works with your own documents and any public Onshape documents.
CAD Sync
If you have already imported an element into your ProtoTwin model and made changes to the CAD in Onshape, you can click the Sync button to syncronize the changes. If you have added components to the CAD in ProtoTwin, CAD Sync attempts to restore your components when synchronizing changes from Onshape. Note that CAD Sync only works when importing directly from Onshape.
CAD Sync avoids needing to recreate your model in ProtoTwin after making changes to the CAD in Onshape. It is common that you will discover issues with your design, or opportunities to make improvements after simulation is performed. CAD Sync allows you to rapidly iterate on your design, without needing to recreate the model in ProtoTwin from scratch.
You may need to reselect some component properties after CAD Sync, but the changes you will need to make to your ProtoTwin model will be minimal, provided that the changes to your design are minimal as well. To use CAD Sync effectively, we strongly recommend adhering to the guidelines below. Your CAD should be the single source of truth. This means that you should only use ProtoTwin to add behavior (components) to parts of your CAD (entities).
- Do not create or delete any entities inside ProtoTwin.
- Do not reparent or group any entities inside ProtoTwin.
- Do not move, rotate or scale entities inside ProtoTwin.
If you decide to do any of the above, it is likely that after performing CAD sync those modifications inside ProtoTwin will be lost and therefore your model may no longer work.
Useful Tips
Here are some useful tips when importing CAD models that you should know about before creating a simulation of your robot or machine.
- When working with a robot that has many components, make sure each moving link is modeled as a separate part, or as a subassembly when a link is made up of many components. This structure allows the joints to be properly constrained.
- If your robot uses a custom end effector, such as a gripper mounted to link 6 of a 6-axis robot, configure the gripper as a subassembly and set it as a child of the link 6 subassembly. This structure avoids having to create a fixed joint between the gripper and link 6 of the robot.
- If your robot includes a spherical joint that cannot be easily selected using feature selection in ProtoTwin, add a small circular cutout in the CAD model so the anchor point can be easily selected.
- If your robot includes parts that are not positioned correctly, make sure to position the parts in your CAD software before importing them into ProtoTwin. This is very important, since positioning a part relative to another part in ProtoTwin can be very difficult.
- Group parts of your machine that move together into subassemblies. Add a physics component with a joint to the subassembly entity. If the parent entity has physics, since the grouped parts are local to the subassembly, they will will move relative to the parent even if they lack physics components themselves.
- When possible, simplify your CAD by removing detail such as nuts and bolts, in order to improve rendering and simulation performance before importing the CAD model into the application.